
Surface mould on tiles and grout usually comes off with a mould remover and a brush. Black mould that has gone into the body of the silicone, or sits behind it, won't shift, so cut the sealant out and re-seal with a mould-resistant sanitary silicone once everything is bone dry. Then stop it returning: run the extractor for 15 to 20 minutes after showers and squeegee the wet surfaces.
Black mould in a bathroom is almost always a moisture habit problem, not a structural one. Steam settles on tiles, silicone and grout, soap residue gives mould something to eat, and the joints stay damp for hours. If you're dealing with a wider damp and mould problem, the bathroom is usually where it starts.
This page is about the low-level stuff: silicone, grout, tiles, shower trays and window reveals. If your mould is overhead, see mould on a bathroom ceiling instead.
Why it grows on silicone and grout
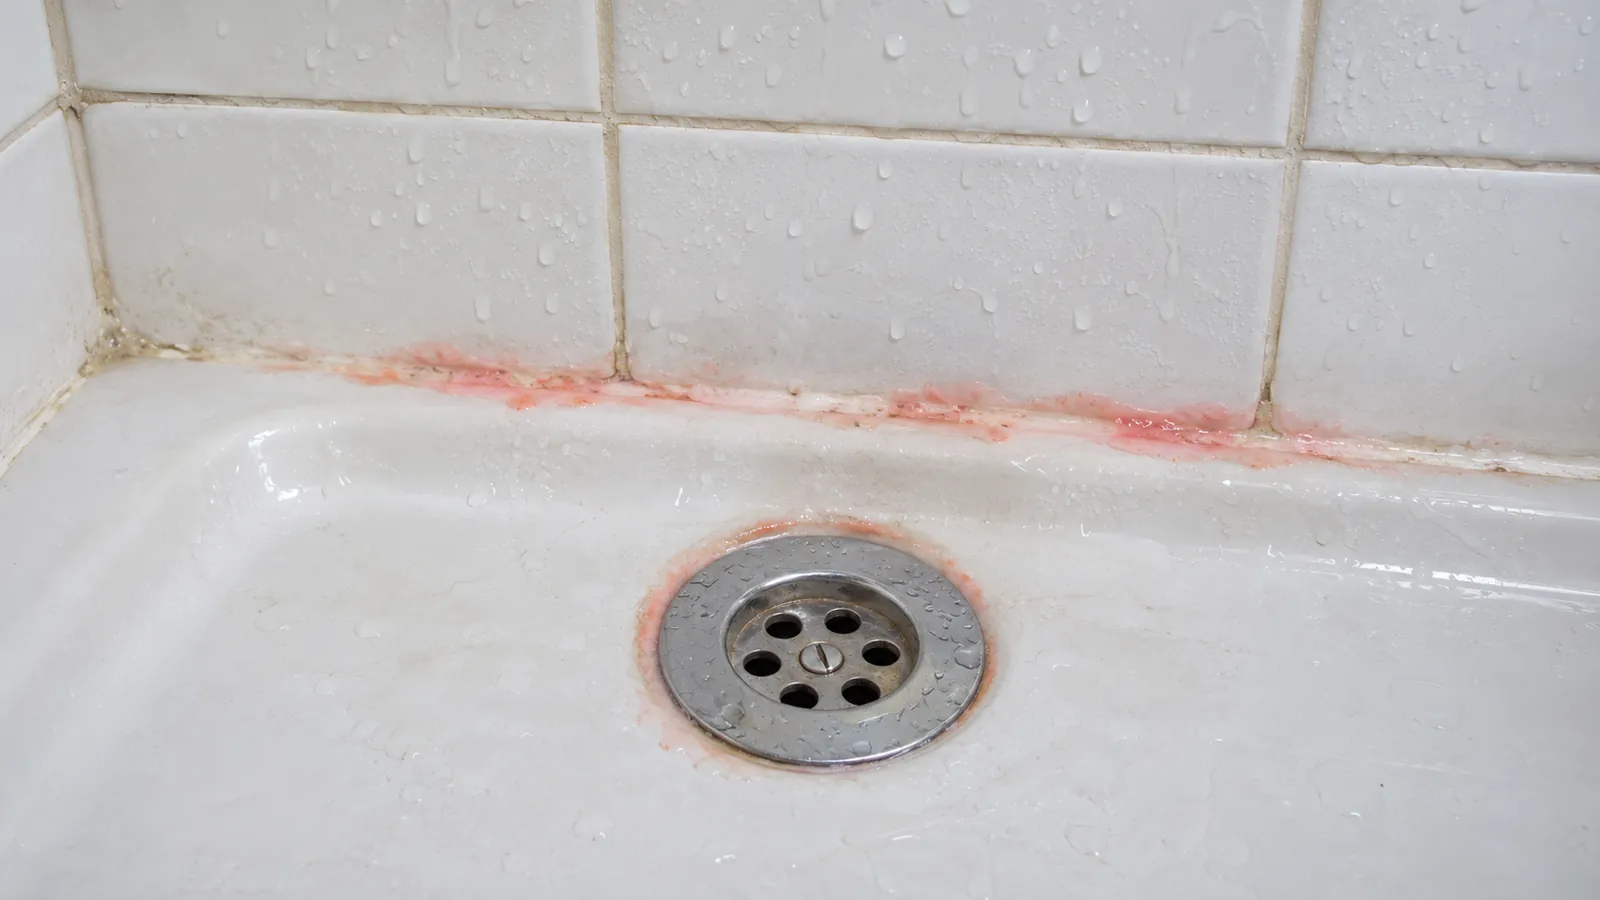
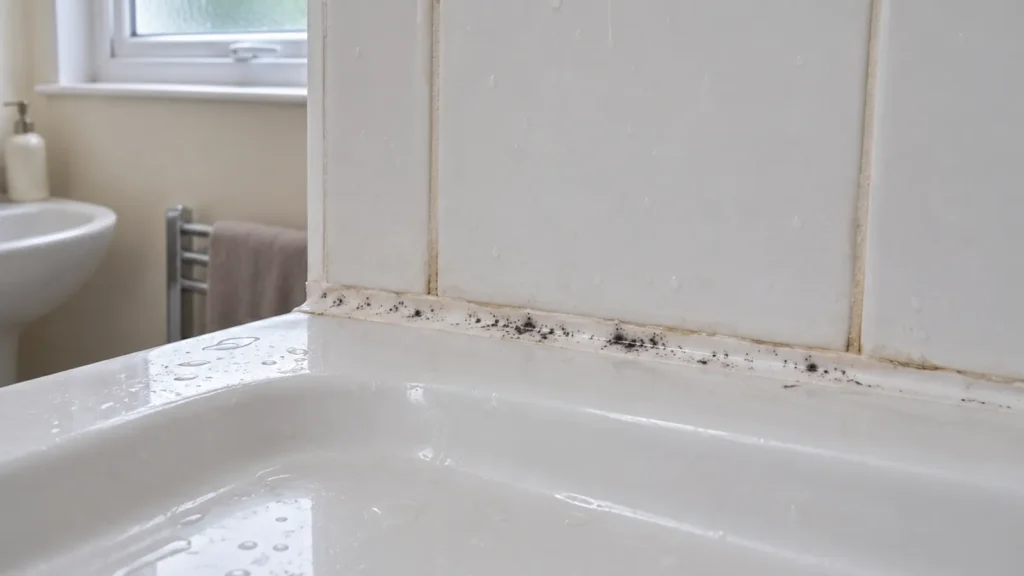
Silicone isn't porous, which surprises people. Mould doesn't eat the silicone itself. It feeds on soap scum, skin cells and limescale stuck to the surface, and then works into any tiny gap where the sealant has lost grip on the tile or tray. Once water gets behind the bead, it stays there. That is why the black often starts at the bottom edge of the seal, where water runs down and pools, or in the corners where two beads meet.
Grout is different. It's cement-based and porous, so it soaks up water and holds it. Unsealed or cracked grout can grow mould right through, and the dark colour isn't always on the surface.
Mumsnet and DIY forum threads on this keep landing on the same two questions: can I clean it, or do I have to redo it? The answer depends on how deep the black goes.
Cleaning or replacing: how to tell
| What you see | What it means | What to do |
|---|---|---|
| Light grey or black speckles on top of the sealant | Surface growth | Clean it |
| Black fully through the bead, still there after two cleans | Mould in the silicone | Cut out and re-seal |
| Black behind the bead, or showing at the tile edge | Water getting under | Cut out, dry, re-seal |
| Sealant peeling, split or gapping | Failed seal | Cut out and re-seal |
| Grout dark but firm and intact | Staining or surface mould | Clean, then seal grout |
| Grout crumbling or soft | Grout failure | Rake out and regrout |
A simple test: clean it properly once, rinse, dry, and look again the next day. If the black is back or never left, it's in the sealant. Old silicone also goes yellow or brittle after several years, and at that point cleaning is wasted effort.
How to clean black mould off tiles, grout and silicone
Ventilate first: window open, extractor on. Wear gloves and eye protection. Wet the area before you scrub, because dry brushing throws spores into the air.

- Use a bathroom mould remover (about £4 to £8 for a spray) or a diluted bleach-based cleaner. Follow the label, and leave it for the contact time stated, usually 10 to 30 minutes.
- Work it in with an old toothbrush for grout, or a soft cloth for silicone. Don't use a wire brush or abrasive pad on silicone, as scratches give mould a rough surface to hold on to.
- Rinse with clean water and dry with a cloth.
- For stained silicone, a bleach-soaked strip of kitchen roll pressed along the bead and left for an hour can lift marks without scrubbing. Remove it before it dries out.
Never mix bleach with other cleaning products, particularly ammonia, acidic limescale removers or toilet cleaners. The gas that results is dangerous in a small room. Rinse one product off completely before using another.
White vinegar does come up in every forum thread, and it can knock back light surface mould. But it is slow, smells, and isn't dependable on established black. Treat it as a mild option, not a fix. Skip it on natural stone tiles, which acid can etch.
If grout is sound but keeps going dark, a grout sealer after cleaning slows water soaking in. Wait until it is fully dry, which can take a day or two.
When you must cut out and re-seal the silicone
If cleaning hasn't worked, redoing the seal takes about an hour of work plus drying time. Budget for a tube of mould-resistant sanitary silicone (roughly £5 to £10), a silicone removal tool or sharp craft knife (£3 to £8), and masking tape. A trade fitter would typically charge somewhere in the region of £60 to £150 to redo a bath or shower, depending on size and area. These are 2026 estimates and vary by region.
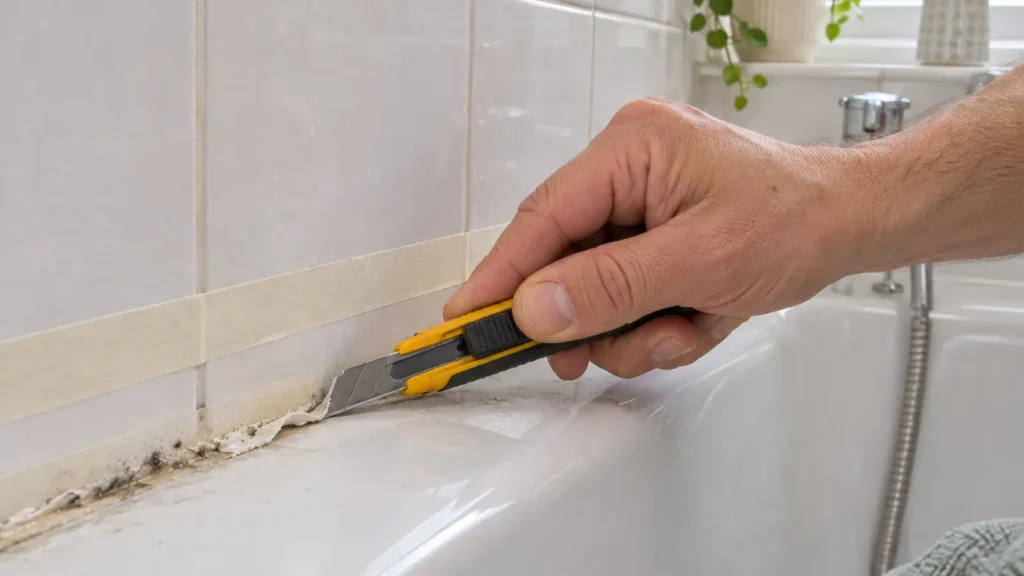
- Cut out the old silicone. Slice along both edges of the bead with a sharp blade, then pull it out in a strip. Silicone removal tools make this easier and safer on acrylic baths and shower trays.
- Remove every trace. Leftover film stops new silicone sticking. Silicone remover gel, or a spirit-based cleaner, helps. Scrape and wipe until the surface is smooth and squeaks.
- Check for mould behind. If tile edges, grout or the gap itself are black, treat with mould remover, rinse and let it dry fully. Use a hair dryer or fan heater if needed. Sealing over damp traps moisture, and the mould is back within weeks.
- Fill the bath or tray with water if you are sealing one. The weight of the water pulls it down to its everyday position, so the seal doesn't stretch and split when you use it. Leave the water in until the silicone has set.
- Mask both sides. Run masking tape along the tile and the bath or tray, leaving a gap of 3 to 5 mm for the bead.
- Apply a steady bead of mould-resistant sanitary silicone, cutting the nozzle at an angle. Keep a constant pace.
- Tool it smooth with a silicone profiling tool, or a finger wetted with a drop of washing-up liquid in water. Pressing the silicone into the joint is what makes it grip.
- Peel the tape off straight away, before the sealant skins over.
- Leave it to cure. Most sanitary silicones skin in minutes and cure fully in around 24 hours or more, but times vary by brand and by how thick the bead is, so read the cartridge. Don't use the shower until then.
A note on the tube: "anti-mould" or "fungicide-treated" silicone contains an additive that resists mould growth. Soudal, Everbuild, Bostik and the own-brand ranges all sell it. It is not a permanent guarantee. The additive wears out over the years, and a bead covered in soap scum will still go black. Use a neutral-cure type if you're sealing next to metal or natural stone, and check the label for suitability.
Clear silicone shows mould more quickly than white. If you can, pick white or a colour matched to the tray, then wipe the bead with a cloth every few weeks.
Shower trays, window reveals and other trouble spots
Shower trays. Water sits in the edge of the joint where the tray meets the tile. A bead that is too thin, or sealed over a gap that has moved, fails first here. If your tray flexes when stood on, the silicone will keep splitting. That's a fitting problem, not a cleaning one.
Window reveals. A bathroom window recess is often the coldest surface in the room, so water condenses there. Black mould on the sill or plaster is usually condensation, covered in our guide to condensation on the inside of windows. Wipe it down, then keep it clear. If the sealant around the frame is mouldy, treat it the same way as bath silicone.
Behind the toilet and under the sink. Mould here can point to a slow leak from a fitting or waste pipe, not just steam. Dry the area and check again after the next use.
Painted walls above tiles. If the top row of tiles has no waterproof paint above it, steam collects on cool plaster. Anti-mould bathroom paint on clean, dry walls helps but, as with ceilings, doesn't replace ventilation.
Stop it coming back
Cleaning only deals with what is already there. The mould returns if surfaces stay damp.
Check the extractor actually works
Plenty of bathroom fans spin but barely move air. A quick check: hold a single sheet of toilet tissue up to the grille with the fan running. If it clings firmly, the fan is pulling. If it flutters or falls off, the fan is weak, clogged with dust, or the duct is blocked or disconnected. Clean the cover (isolate the power first) and, if it still fails, ask an electrician to look at it. Building Regulations guidance (Approved Document F) expects an intermittent extractor in a bathroom to move at least 15 litres per second.
Let it run for 15 to 20 minutes after you finish. A fan with a built-in timer (often called overrun) or a humidity sensor handles that for you. A fan wired to the light switch turns off long before the steam has cleared.
Squeegee and wipe
A £3 to £8 squeegee is probably the most effective thing on this page. Pull the water off the tiles and screen after every shower, then wipe the silicone with a cloth. It takes about 30 seconds and removes the film of water mould needs. Leave the shower door or curtain open so air gets in.
Keep it warm and dry the room
A bathroom that is chilly all winter holds more moisture on its surfaces. A towel rail on a low setting keeps walls above the temperature where water condenses. Hang towels to dry in the room only if the fan is doing its job, otherwise they add to the damp. If mould shows up elsewhere in the house too, read our guide on how to fix damp.
Is black mould in the bathroom dangerous?
Mould releases spores that can cause problems when breathed in. Government health guidance on damp and mould says it can affect breathing and trigger or worsen allergies and asthma, and that children, older people and anyone with a long-term lung condition or weakened immune system are more at risk. The same guidance says there is no safe level of exposure, so damp and mould should be dealt with promptly rather than left.
That doesn't mean a few spots on the silicone are an emergency. A small patch on a sealant bead is a cleaning job, not a hazardous event. A large area, mould that returns after cleaning, or mould alongside someone's worsening cough or asthma is a reason to act sooner. If you rent, tell your landlord in writing. Our guide to black mould in a rented property covers who is responsible.
Tiny moving specks near the mould are probably mould mites, a sign the room stays too humid.
When to call a professional
- The mould is behind tiles, or tiles are loose, hollow-sounding or discoloured at the base.
- The wall under a shower or bath feels soft, or the floor beside it is stained or spongy. That suggests water getting into the structure.
- Fresh silicone fails again within weeks.
- You can see staining on the ceiling below the bathroom. See our guide to a damp patch on the ceiling.
- The extractor is weak and needs replacing. A fan is an electrical job, so use a qualified electrician.
FAQs
How do I get black mould off bathroom silicone?
Spray a bathroom mould remover or diluted bleach cleaner onto the bead, leave it for the time on the label, scrub gently with a soft brush, rinse and dry. If black remains after a second go, the mould is inside the silicone and it needs cutting out and replacing.
Can I just put new silicone over the old?
No. New silicone doesn't bond to old silicone, and mould underneath stays in place. Remove the old bead completely, clean and dry the joint, then re-seal.
How do I remove black mould from grout?
Use mould remover and an old toothbrush, rinse, and dry well. Seal the grout afterwards. If the grout is crumbling or soft, rake it out and regrout, as cleaning won't help.
How long does anti-mould silicone last?
There's no fixed figure, and manufacturers don't promise one. The additive wears out over time, especially where soap scum builds up or the bathroom stays damp, so wiping the bead and ventilating matters as much as the product.
Is black mould in the bathroom dangerous?
It can be, particularly for people with asthma, lung conditions or weakened immune systems, and for babies and older people. A small patch can be cleaned at home, with gloves and ventilation. Large or repeated growth needs the cause fixed.
Why does mould keep coming back in my shower?
Usually because the shower area stays wet: a weak extractor, no squeegee habit, or a leaking seal letting water behind the bead. Fix those and re-seal if needed.
- Surface mould on tiles and grout cleans off. Mould through the silicone means cutting it out and re-sealing.
- Dry the joint fully before applying new mould-resistant silicone, and leave it to cure before showering.
- Test the extractor with tissue paper, run it 15 to 20 minutes after showers, and squeegee after every use.
- Small patches are a cleaning job. Large, recurring or health-affecting mould needs the cause fixed.